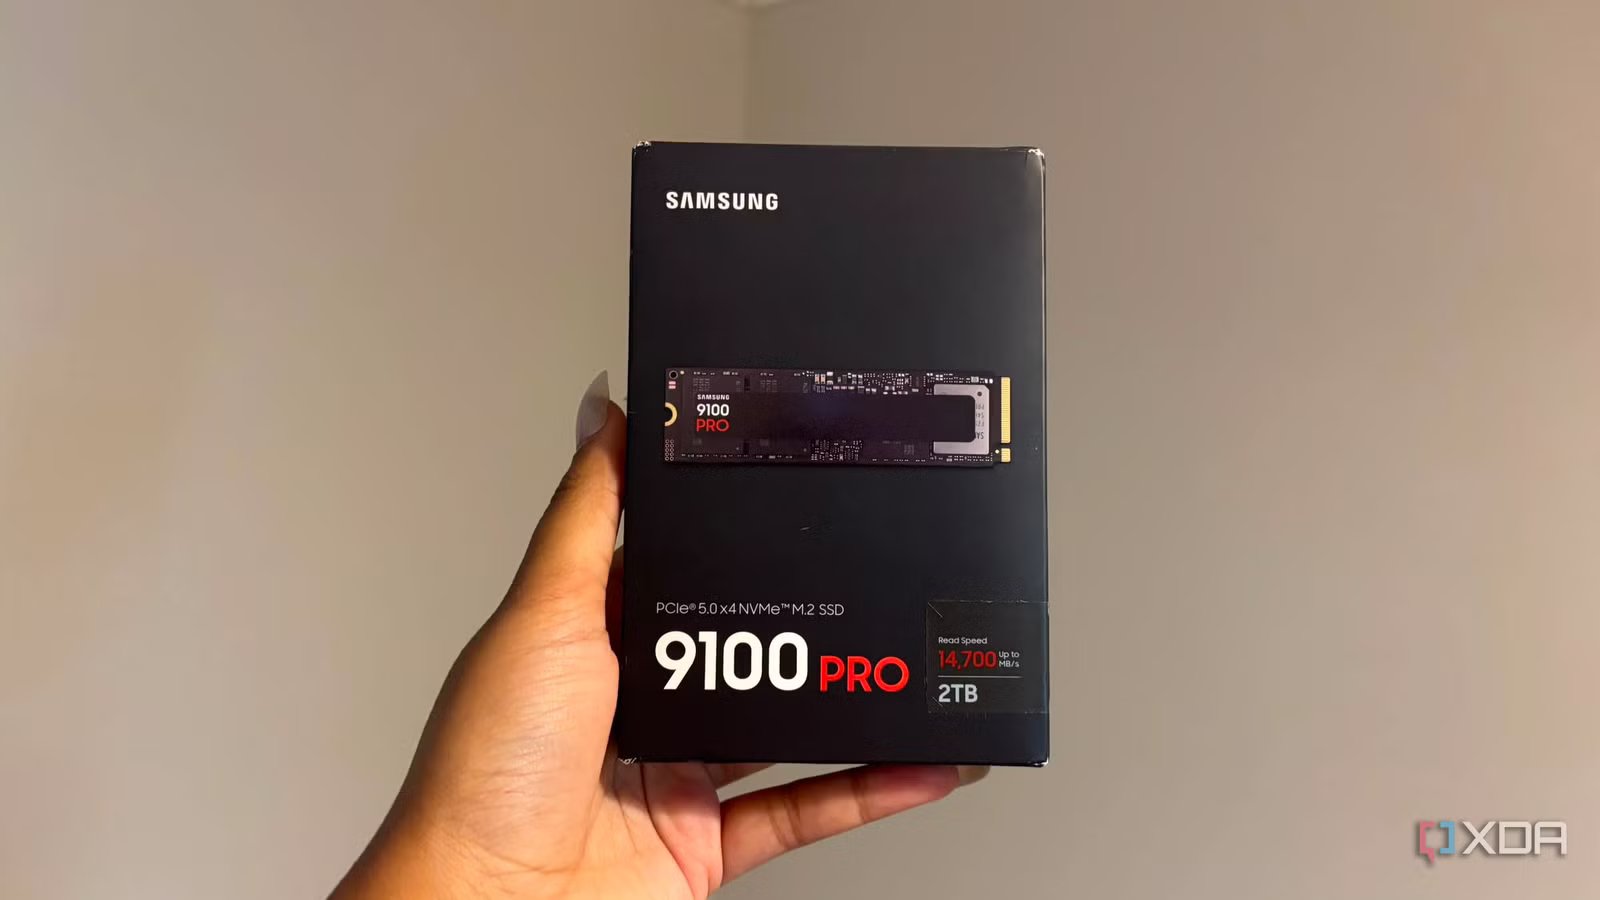
One challenge PC builders may face is installing Windows 11 on a new 1TB or 2TB NVMe SSD. You install a few important applications like Open TreeSize or WizTree and suddenly you find a massive locked system file called hiberfil.sys that is quietly gobbling up 16GB to 32GB of root C: partition space. It’s not just wasted energy. It can also wear out your SSD, because whenever Windows initiates fast startup, hybrid sleep, or full system hibernation, it dumps the entire contents of the active system RAM directly to the same file on the flash drive. It’s a feature that decades ago was reserved for slow mechanical spinning hard drives and underpowered laptops, and is now enabled by default on high-end desktop gaming rigs and workstation PCs equipped with 32GB, 64GB, or 128GB of high-speed RAM and 4th or 5th generation NVMe SSDs.
Windows 11’s default hibernation file is an outdated mechanism that consumes tens of gigabytes of core NVMe real estate and silently wastes TB of write endurance on an SSD. By running a single administrative command in Terminal, you can shrink hiberfil.sys by 60% or remove it entirely to reclaim memory and protect your drive life in the long run.
What is hiberfil.sys?
This is unnecessary for most modern devices
What does hiberfil.sys do? really do? Under the hood, it’s a clear RAM-to-disk dump. This is because when hibernation is activated, the Windows kernel compresses the active non-volatile system memory and dumps it into non-volatile memory otherwise known as hiberfil.sys. This allows the computer to reach a full 0W power state and resume later.
By default, Windows keeps a standby file size equal to 40% to 100% of the total installed RAM. If your workstation has 64 GB of RAM, hiberfil.sys can reserve 25 GB to 50 GB of static SSD memory.
This also happens during fast startup. Even if you don’t use the hibernate feature directly, quick launch also uses the hibernate boot feature. Windows 11 uses Quick Start by default, even if you never click Sleep in the Start menu.
This means that Windows will not actually perform a clean cold shutdown when you click the standard shutdown option. Instead, it logs out of the user session, hibernates the main Windows kernel, and prompts for the hiberfil.sys file, then powers down. As a result, each standard computer shutdown triggers a multi-gigabyte write cycle to the SSD NAND flash blocks, which can lead to wear and tear over time.
This can cause long-term damage to your SSD
A quick start doesn’t make as much of a difference as you might think

The wear and tear that occurs here is not something to brush off. This has a severe impact on the flash memory and can affect the long-term health of the SSD. This is because SSD NAND flash cells have a finite write endurance measured in TBW (terabytes written). By dumping 10GB to 30GB of core and session state to disk once or twice a day, you’ll add 5TB to 10TB+ of unnecessary host records over a few years. This results in lower SSD performance on full drives.
SSDs rely on free space for dynamic SLC caching, tiering algorithms, and garbage collection. Choking a 500GB or 1TB boot drive by locking 32GB of memory for an unused hibernation file will limit the drive’s ability to hold peak writes and shorten the life of any ND blocks.
In fact, when it comes to modern NVMe drives, using fast boot makes very little difference. On a modern PCIe 4.0 or 5.0 NVMe drive booting a clean, cold Windows session, you can boot it in less than 10 seconds. Fast startup gives you a few seconds of speed advantage, but it doesn’t really make a difference in day-to-day use.
Run a single command to resolve the issue
You have two options for the command

Fortunately, there is a way to fix this, and it only takes one command. Before we begin, note that there are two ways to run this command. The first is a full desktop kernel option that allows you to recover 100% of space and stop all writes. The second is about a compromise that allows you to keep fast startup and reduce the size of the hiberfil.sys file by 60%.
If you’re looking for the best kernel option for desktops, gaming PCs, and workstation rigs that don’t require hibernation and really want a clean shutdown, the first thing you’ll want to do is right-click the Start menu, then select Terminal or PowerShell. Whichever you click, you’ll run it as an administrator, so you have full permissions. Then run the command: powercfg.exe /standby is off
When you run this command, the hyperfil.sys file will be deleted instantly, freeing up 16 GB to 32 GB of disk space immediately, without requiring a reboot. If your device has more RAM, it will free up disk space.
If you instead want to run a hacked version, best suited for mobile laptops, where you want to keep fast-launch kernel caching but remove the payload of multi-gigabyte user session hibernation, reopen PowerShell or Terminal as administrator and run: powercfg /type minimized
Rather than removing the hiberfil.sys file entirely, it shrinks it down to its bare minimum footprint for the kernel, keeping around 3GB to 6GB (depending on how much RAM) of fast startup. Finally, you can check whether it works by using a file browser with “Show protected operating system files” checked. powercfg /a command to check supported sleep states.
You don’t need the old sleep state
Your computer may be fast enough without it
Modern desktop computers equipped with ultra-fast NVMe storage do not require hibernate tapes, which in the mid-2000s could destroy the write resistance of SSDs and eat up tens of GB of disk space. Right now, it’s pretty easy to reclaim NVMe real estate by opening an administrative terminal window and running a one-line command to disable it. This way, you’ll recover 30GB of memory (or sometimes more depending on your RAM) in less than 30 seconds.